What could be more romantic than to make your own engagement ring?
Here at PolishingJewellery.co.uk we’ve been asked about essential equipment for making an engagement ring by a keen fiancé’s to be. We thought it was such a wonderful idea, we’ve written a blog and made a video about it!
You can cut costs, be certain about the origin of your precious materials, and create something truly personal.
Here is our ultra simple tutorial for making a unique engagement ring worthy of a big fat YES.
What Equipment do I Need?
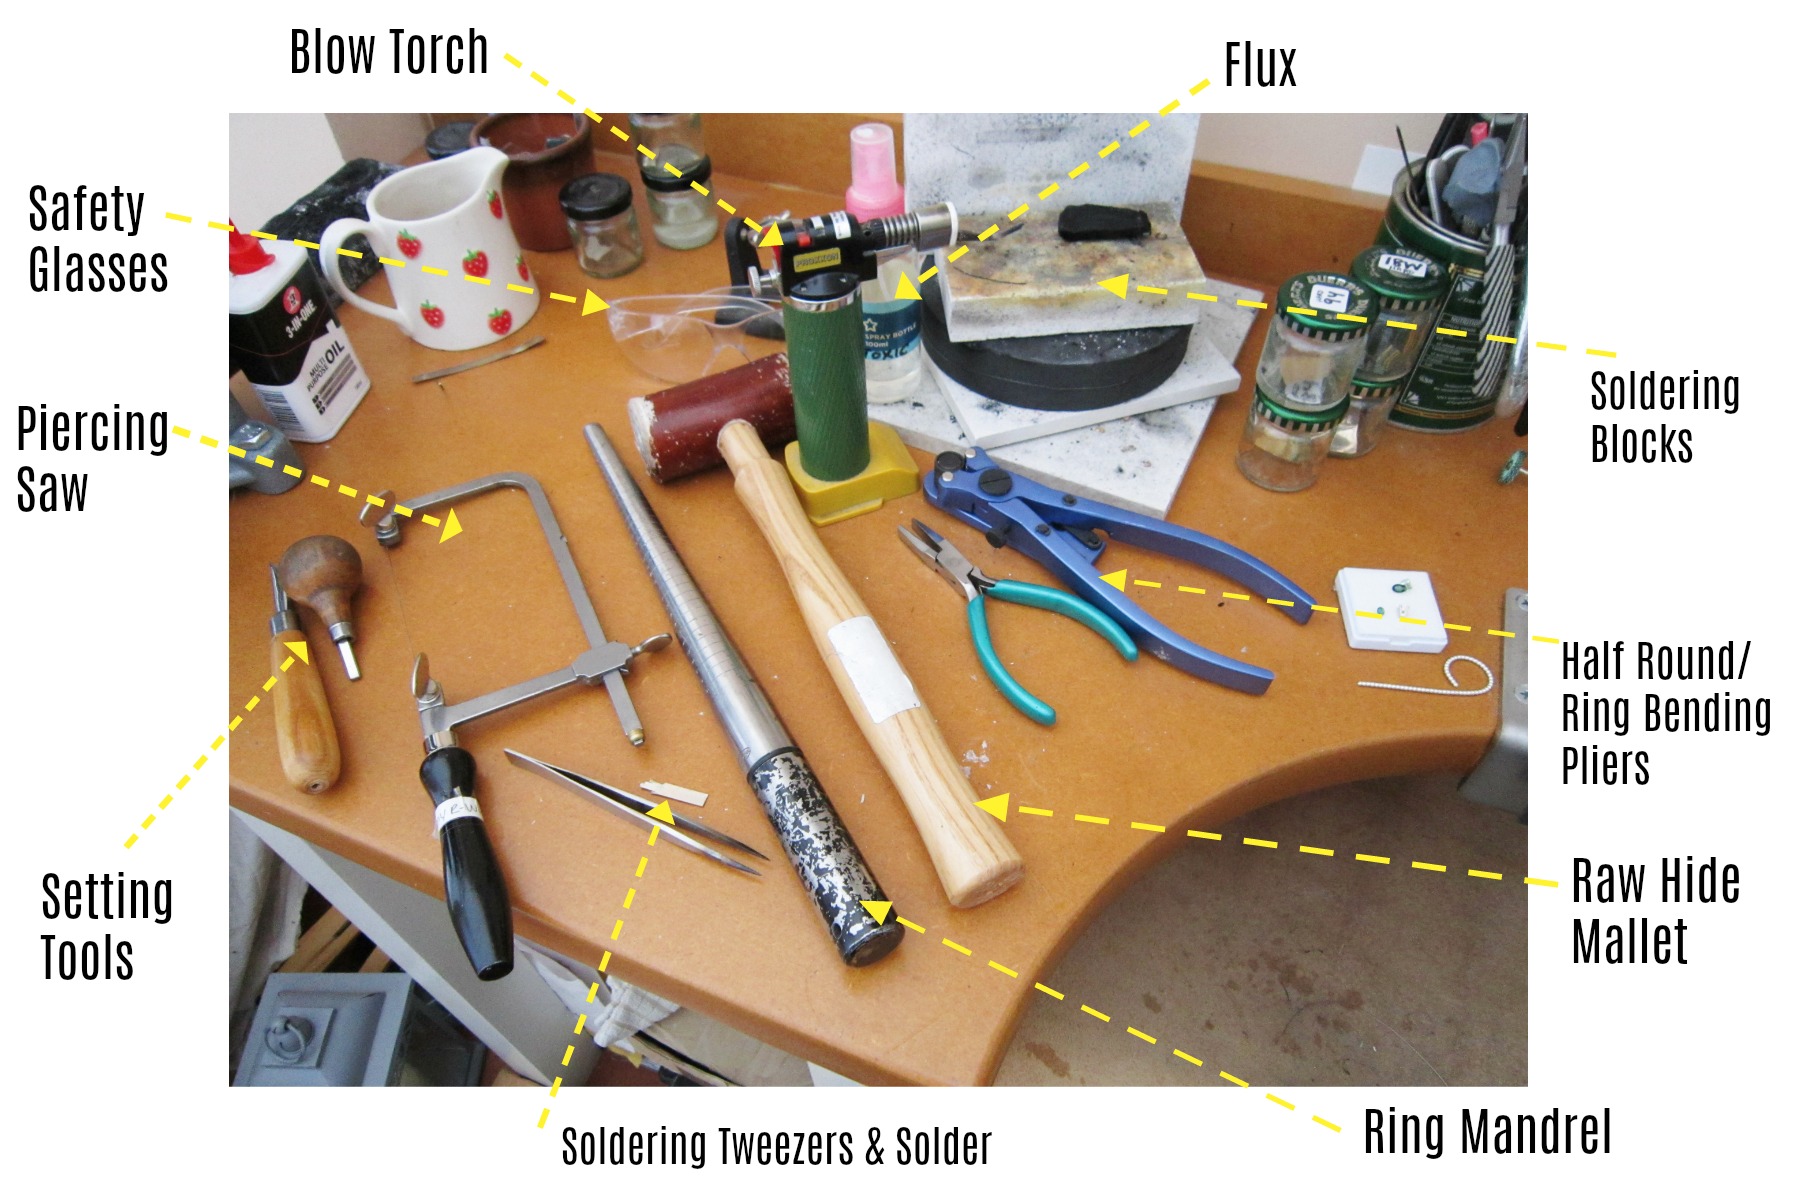
This is a basic selection of tools necessary to make your own engagement ring;
- Blow Torch
- Flux (Borax or Liquid Flux)
- Soldering Blocks
- Soldering Tweezers & Solder (appropriate for the metal you have chosen, preferably use Hard)
- Safety Glasses (Always wear when jewellery making!)
- Jewellers Piercing Saw
- Ring Bending Pliers or Half Round Pliers
- Raw Hide Mallet
- Ring Mandrel
- Setting tools if Setting Yourself
Not pictured but also necessary;
Solder snips, jewellers safety pickle, setting burr and a selection of our polishing tools.
Step 1. Choose the Metals and Stone
Your first step to making an engagement ring is to choose a simple design and then the right metals and stone.
Nowadays there are brilliant suppliers who sell to individuals and the trade. Some even supply eco metals for the ethically conscious among us.
Don’t feel you have to go for a diamond, there are some amazing coloured stones that make for a truly one-off design.
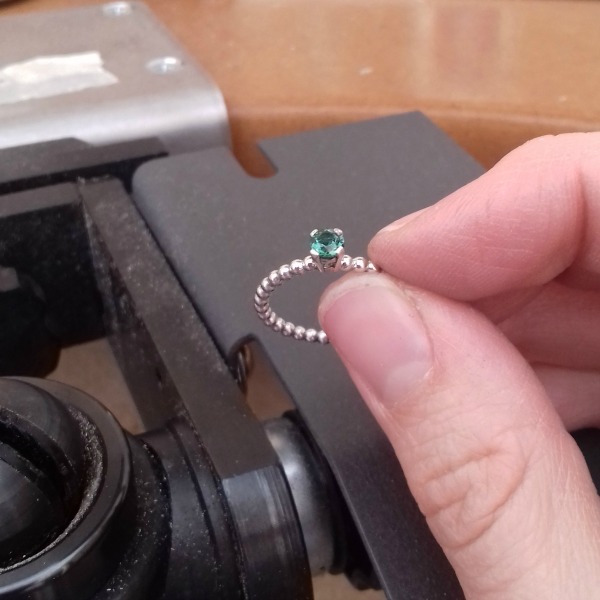
Here we have chosen ball wire, a ready made claw setting and green Tourmaline. But of course, you can experiment or try something even more adventurous.
Step 2. Make the Shank
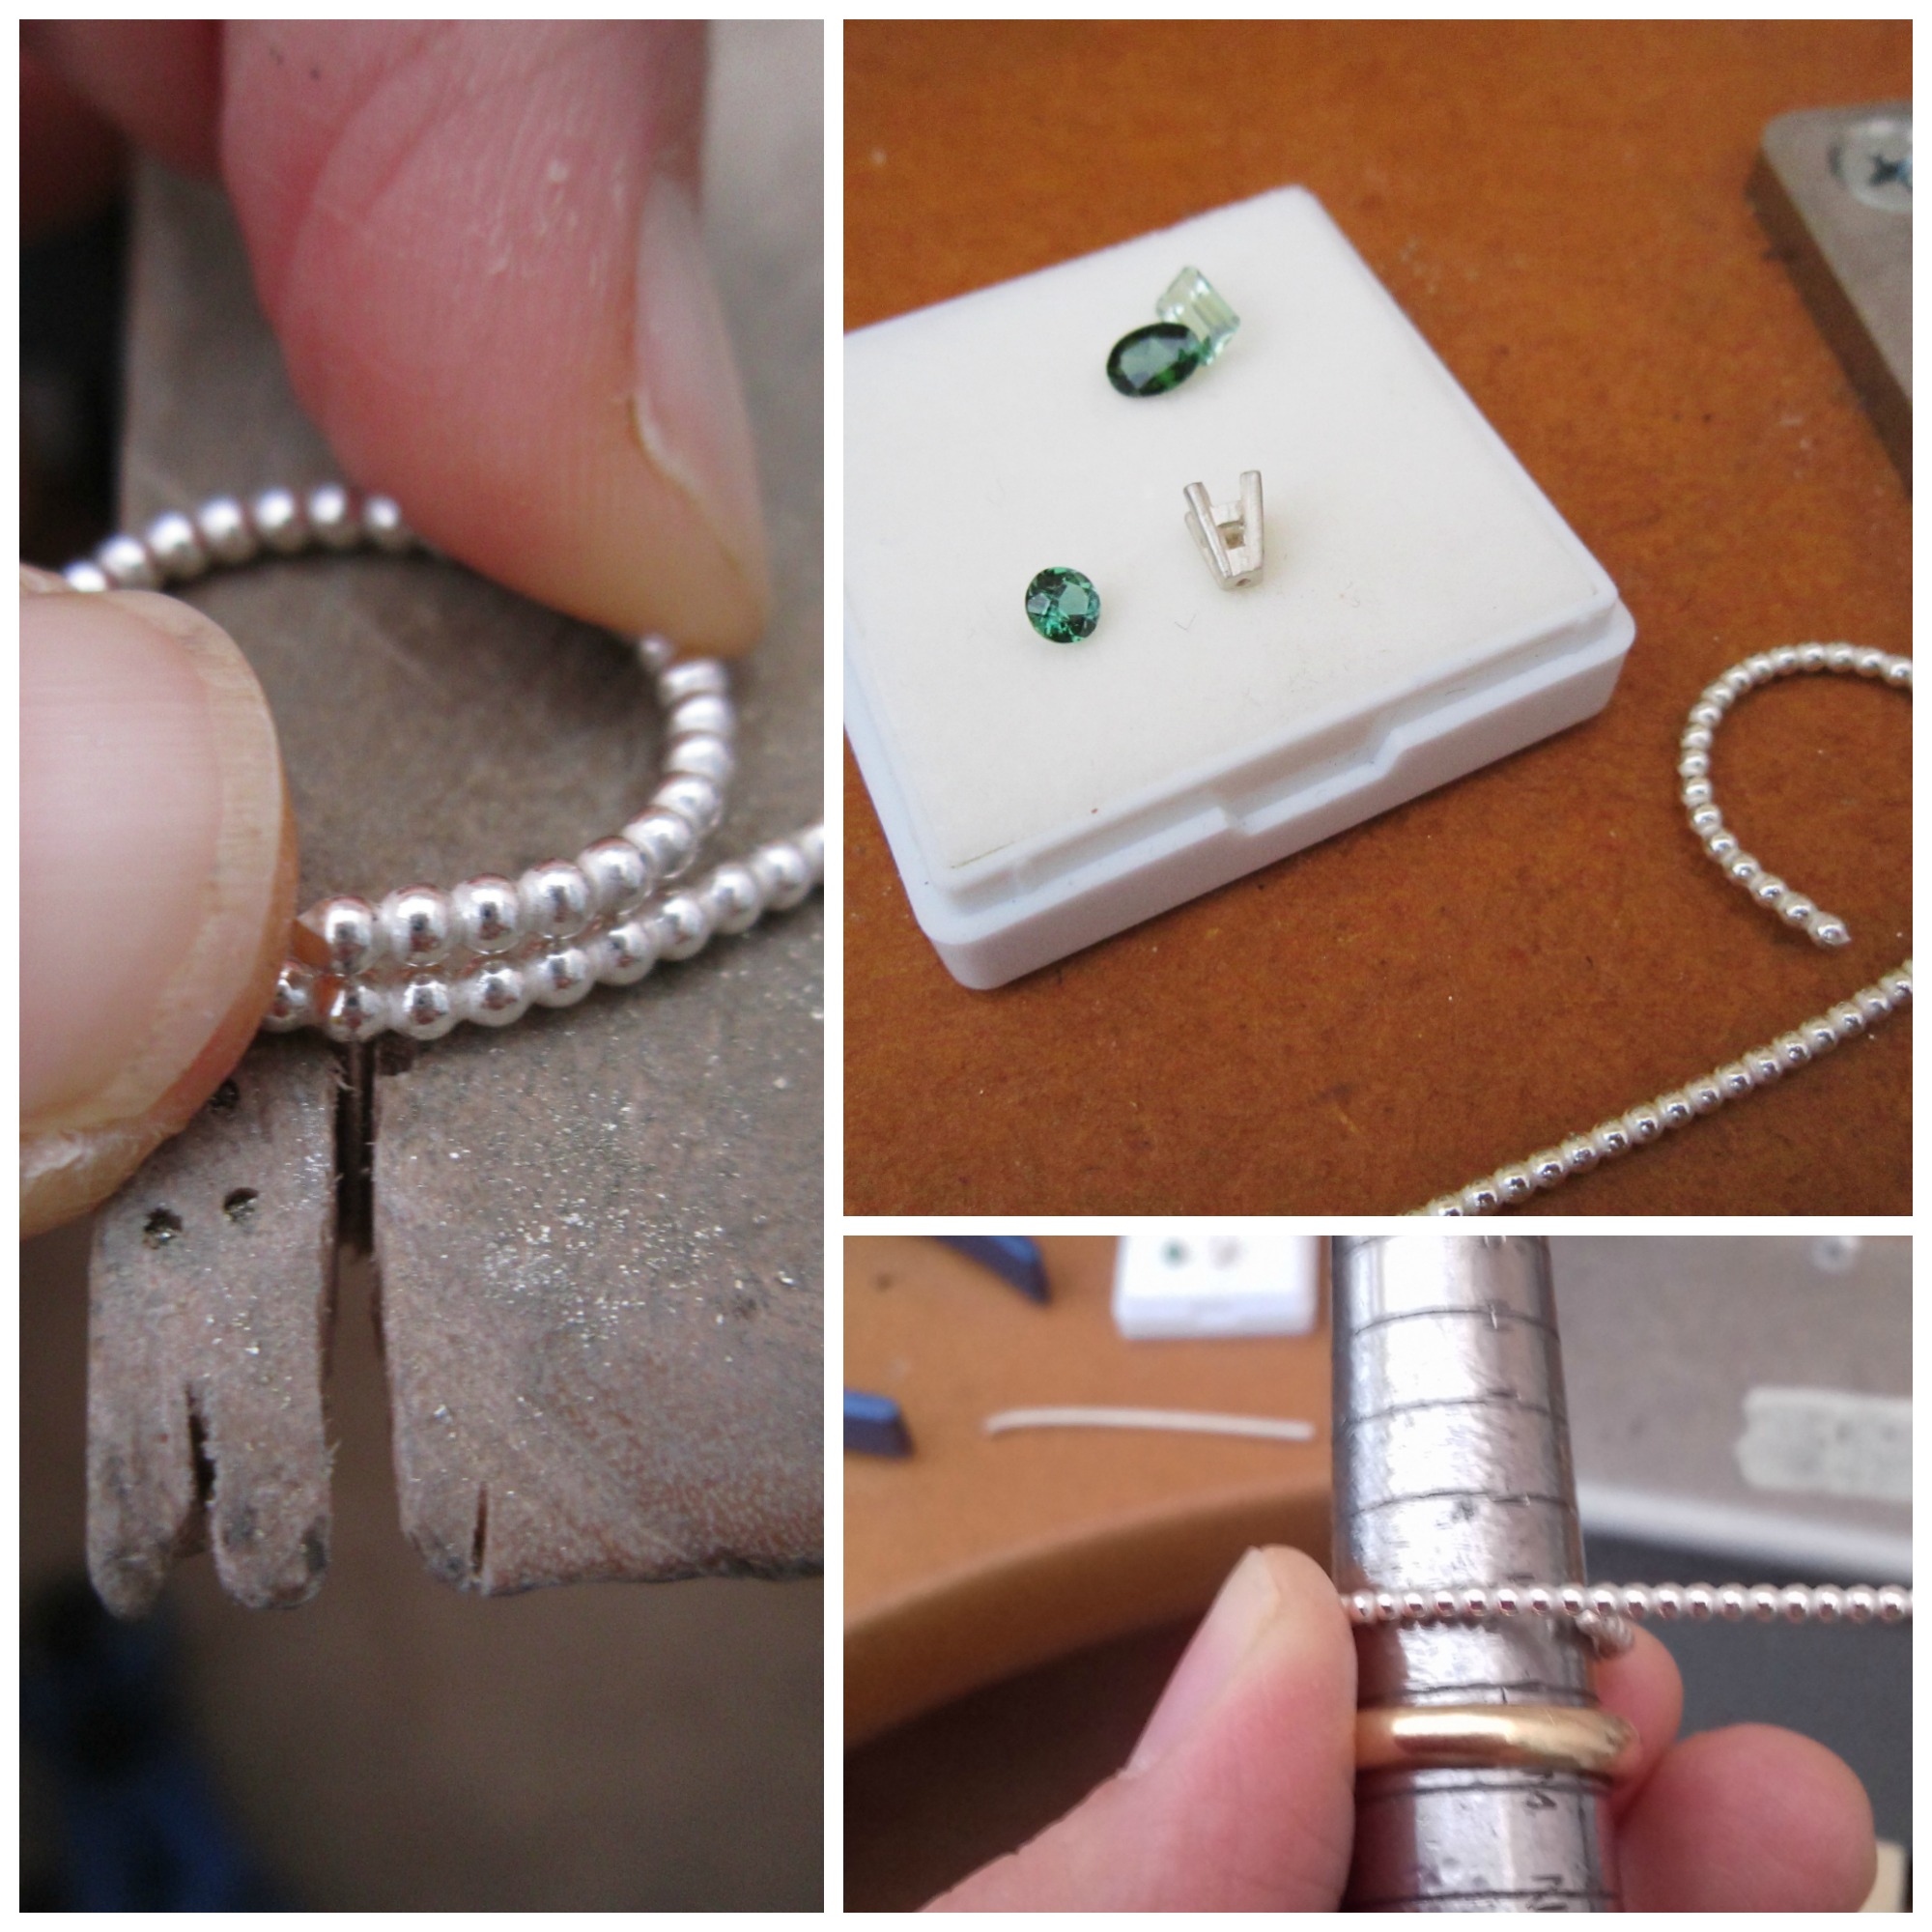
Work out your partners ring size, you may need to adopt some super sleuth tactics to do so. The best way is to use a ring already worn on the ring finger, obviously getting a proper sizing done is always the most reliable method.
You can then work out how much wire you will need to make this size. There are widely available tables for working this out. Always add the same number of mm’s to the length as the thickness of the wire.
Use the ring bending pliers to shape the wire into a rough circle. Line the two ends up and pierce through. Line up the ends as tightly as possible – solder won’t jump a gap.
Step 3. The First Solder
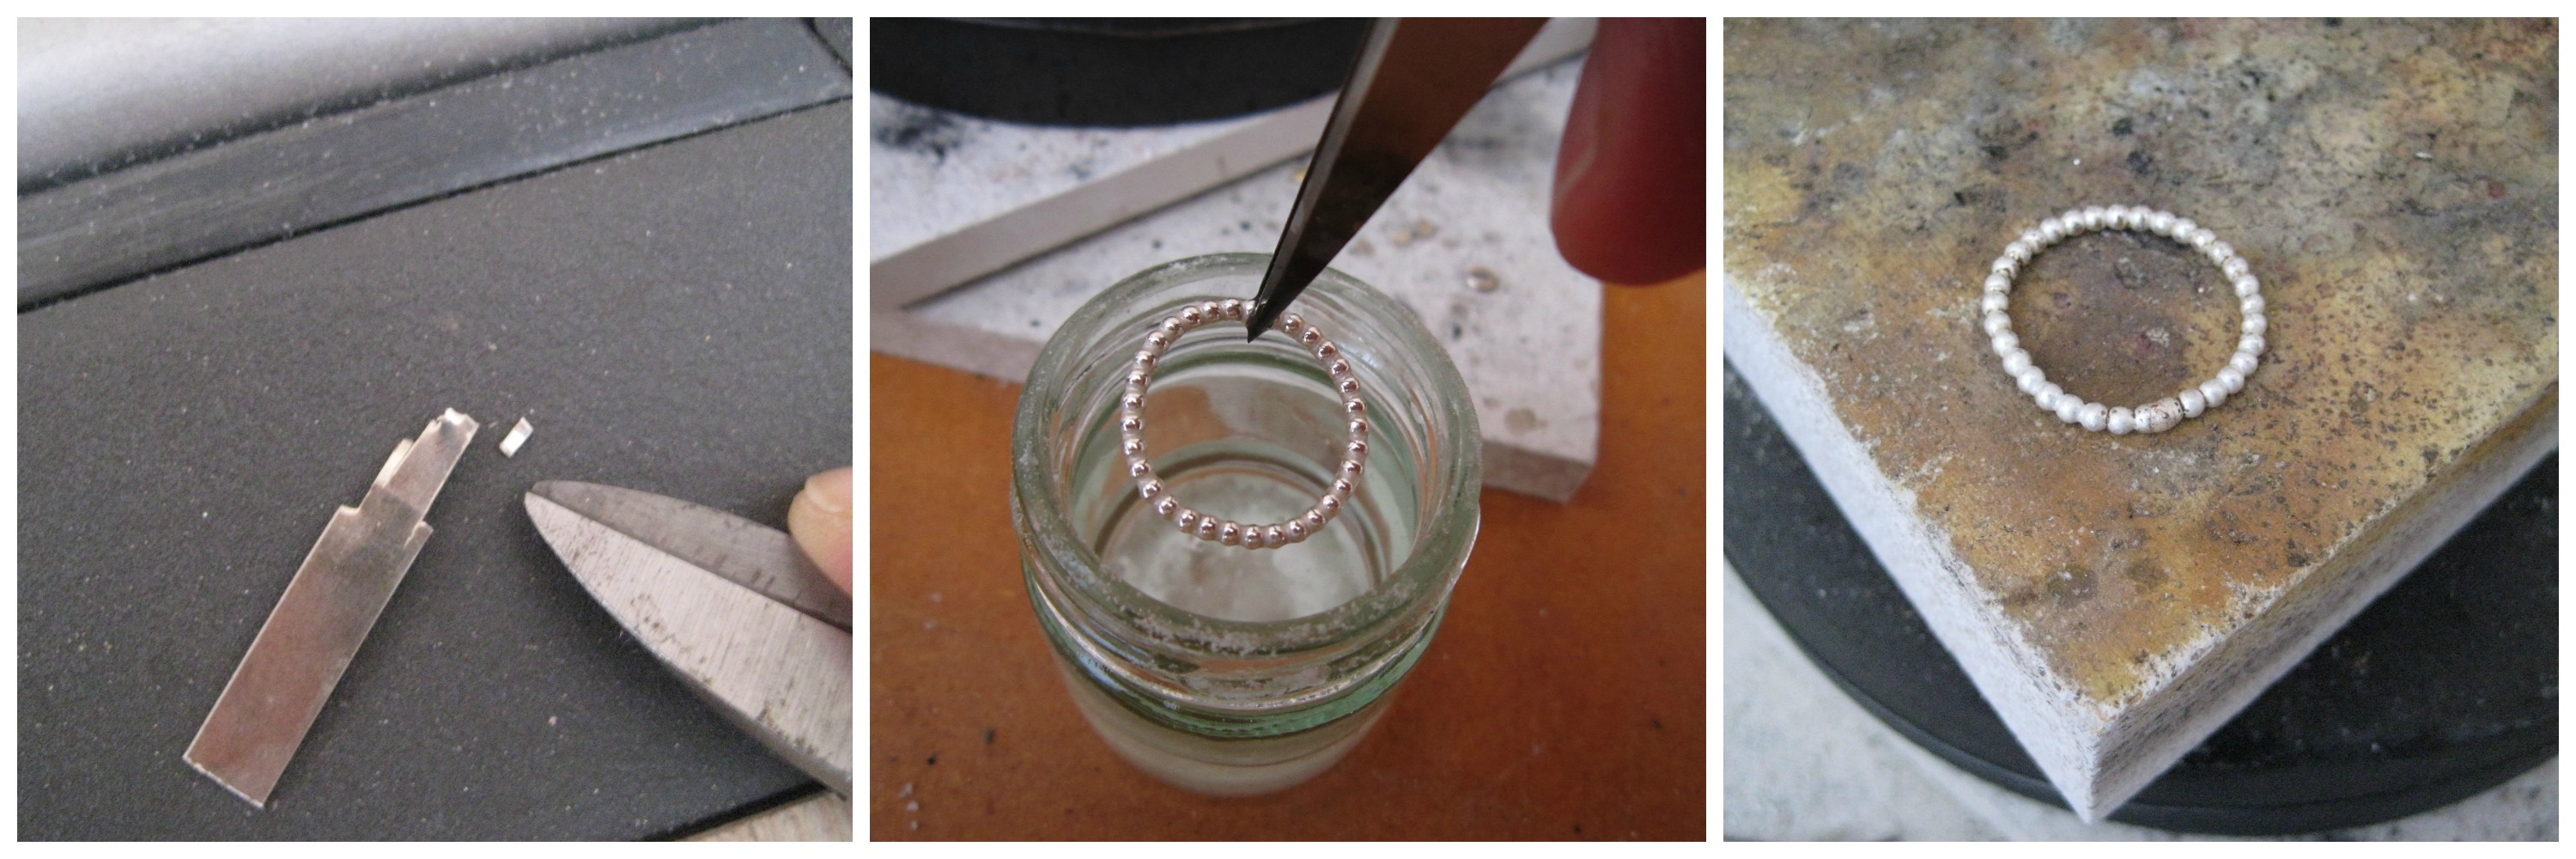
Snip a small pallion of solder from the strip. Dip the ring in your flux (or paint on if using borax). Place the solder on the join and heat the whole ring, focusing on the joint as it reaches temperature.
Step 3. Joining Setting and Shank
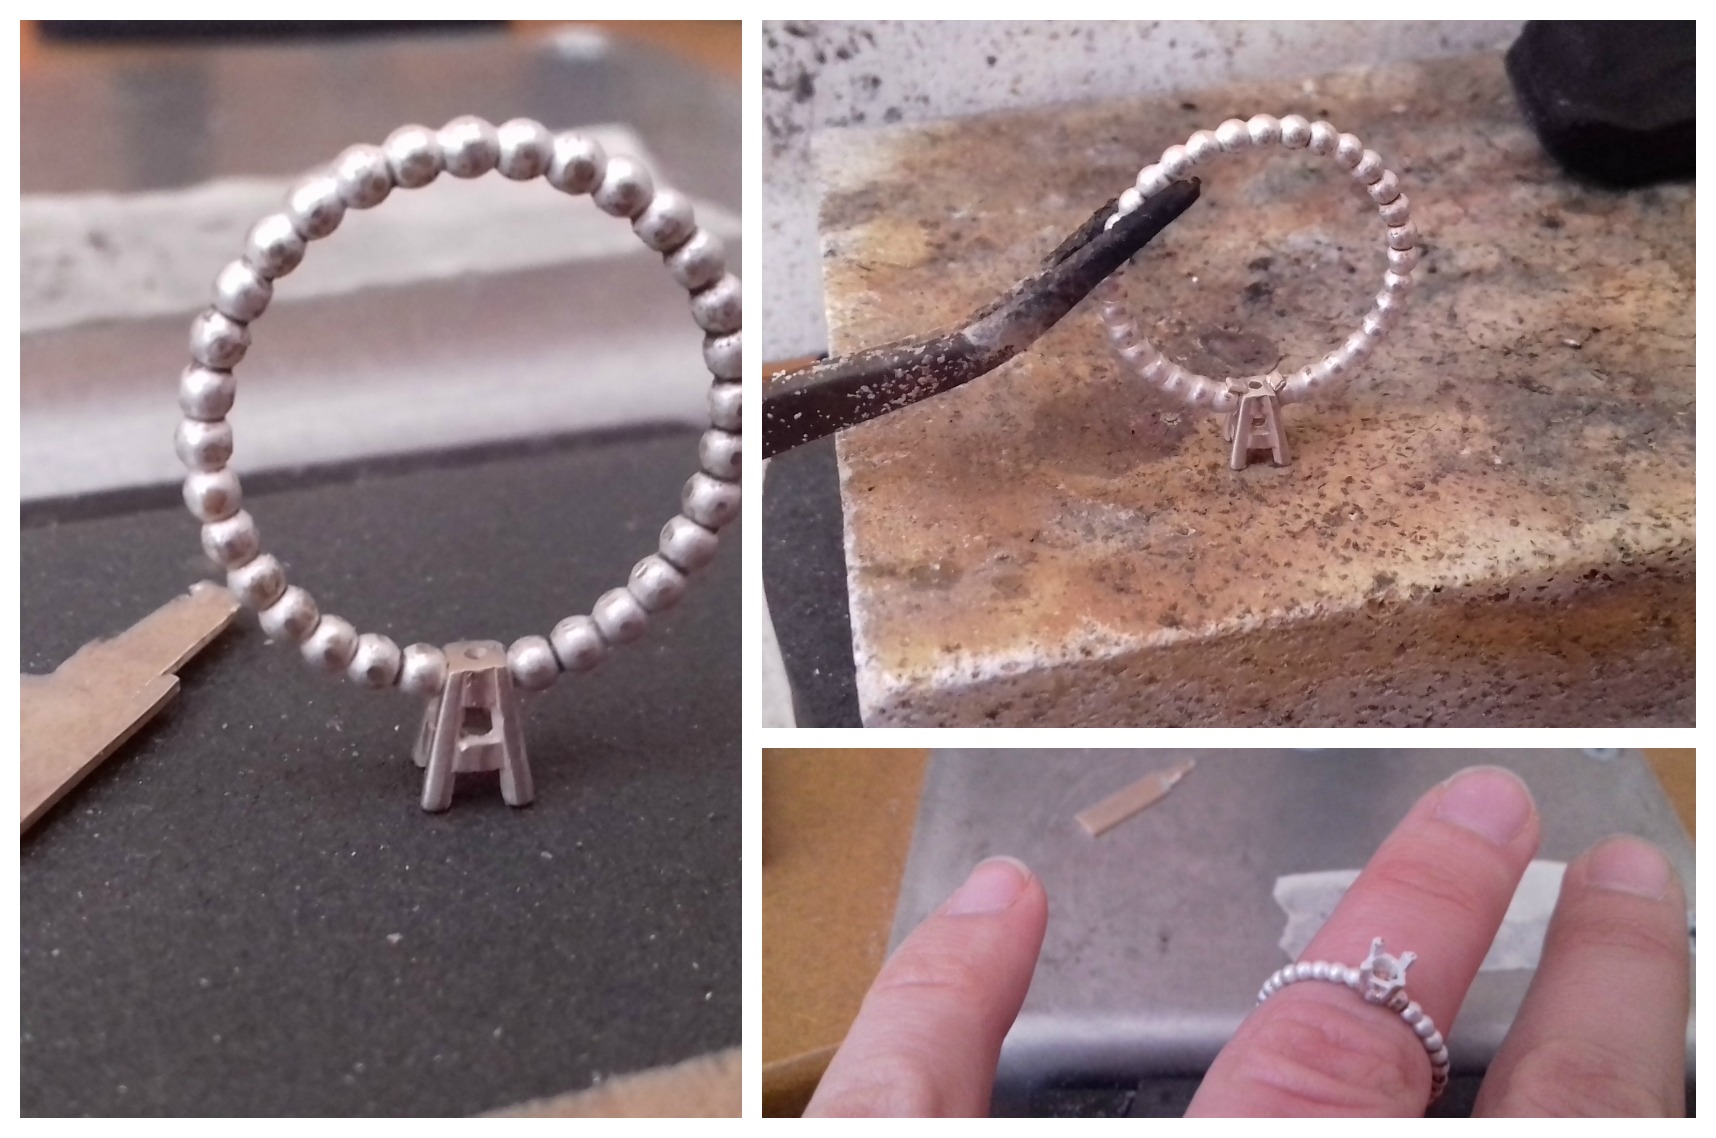
Pickle the ring then pop back on the ring mandrel tapping it to a perfect round.
Cut a section of the shank out to allow for the setting you have chosen, you may need to file the ends to fit it tightly.
Set up the shank and setting ready for soldering. You can use a 3rd hand to help.
Step 4. Time for a Cuppa and a pickle!
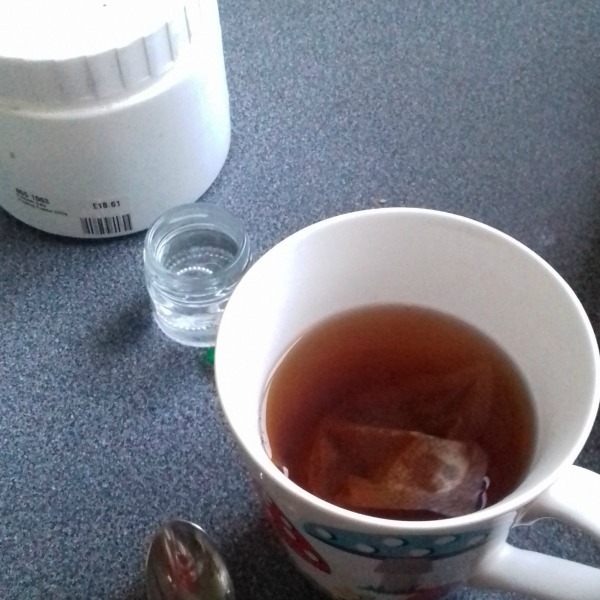
Make yourself a cup of tea while you pickle the ring thoroughly. All oxides should be removed.
Pickle is made with Jewellers Safety Pickle and preferably hot water for quickest results. I use a little glass jar for small jobs and don’t forget to only ever use plastic tweezers – steel contaminates pickle.
Step 5. Polish that Ring to a Shine
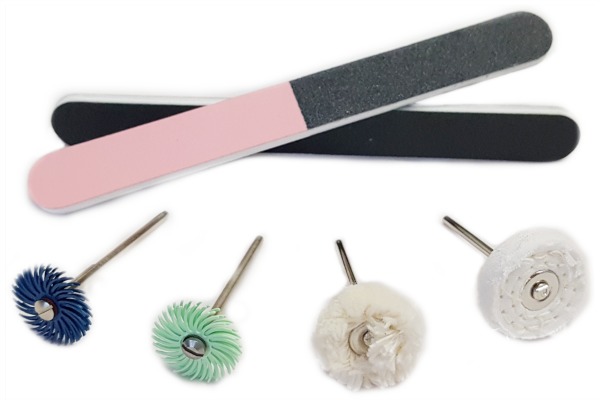
I used a small selection of tools to achieve a bright shiny finish on this ring. They are a good starting point for polishing any jewellery. The only other thing you would need is a rotary tool such as a Dremel, Pendant Motor, Micromotor or Hobby Tool.
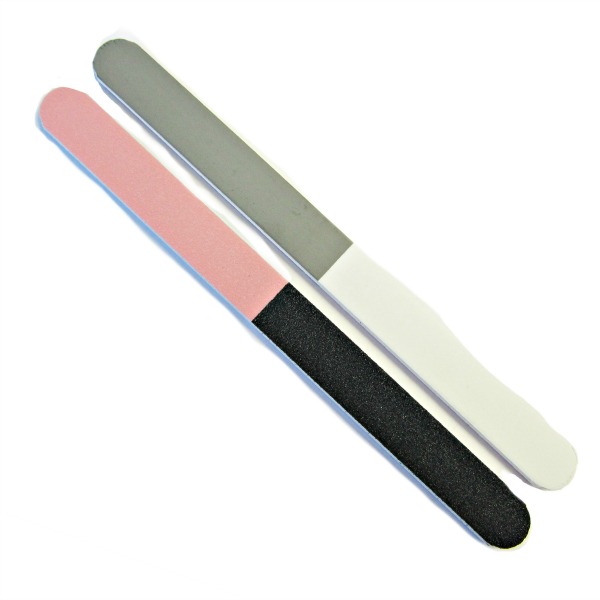
Micro-Mesh Flexifiles
Micro-Mesh flexifiles are by far the most versatile tool you can ask for. The 4-way files will shape, sand and polish.
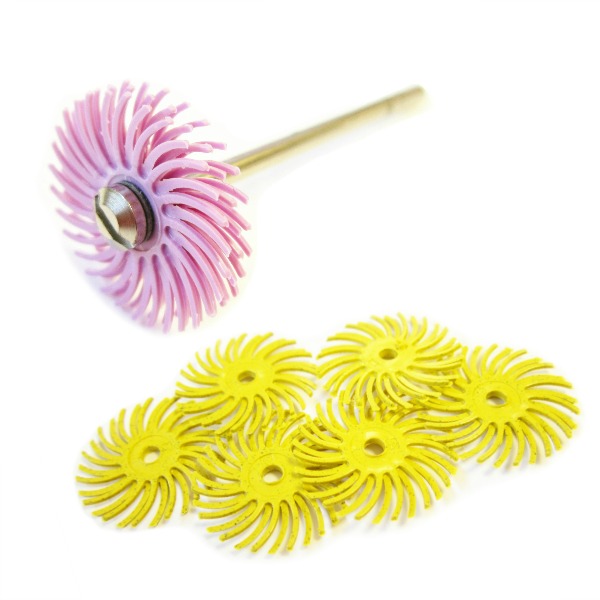
19mm Radial Discs
19mm Radials in blue (400g) and L.green (1 micron), great for detailed pieces and for getting into tight spots.
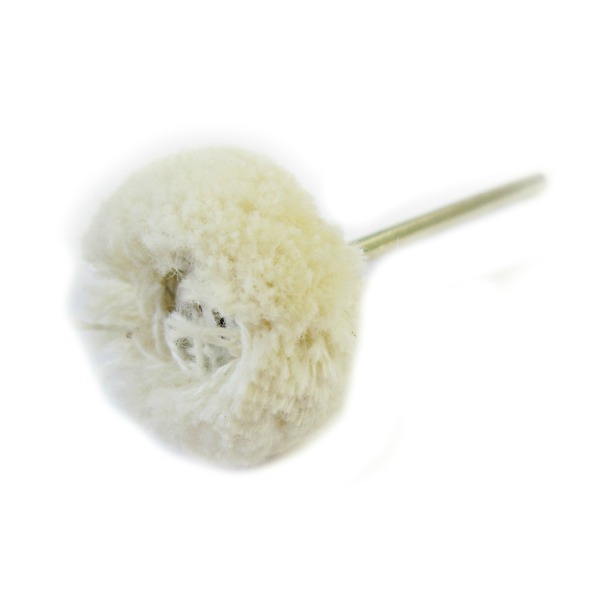
Cotton Yarn Mops
These fluffy wheels are amazing for doing the final polish, great for fitting inside the ring. Use with rouge or Menzerna P175.
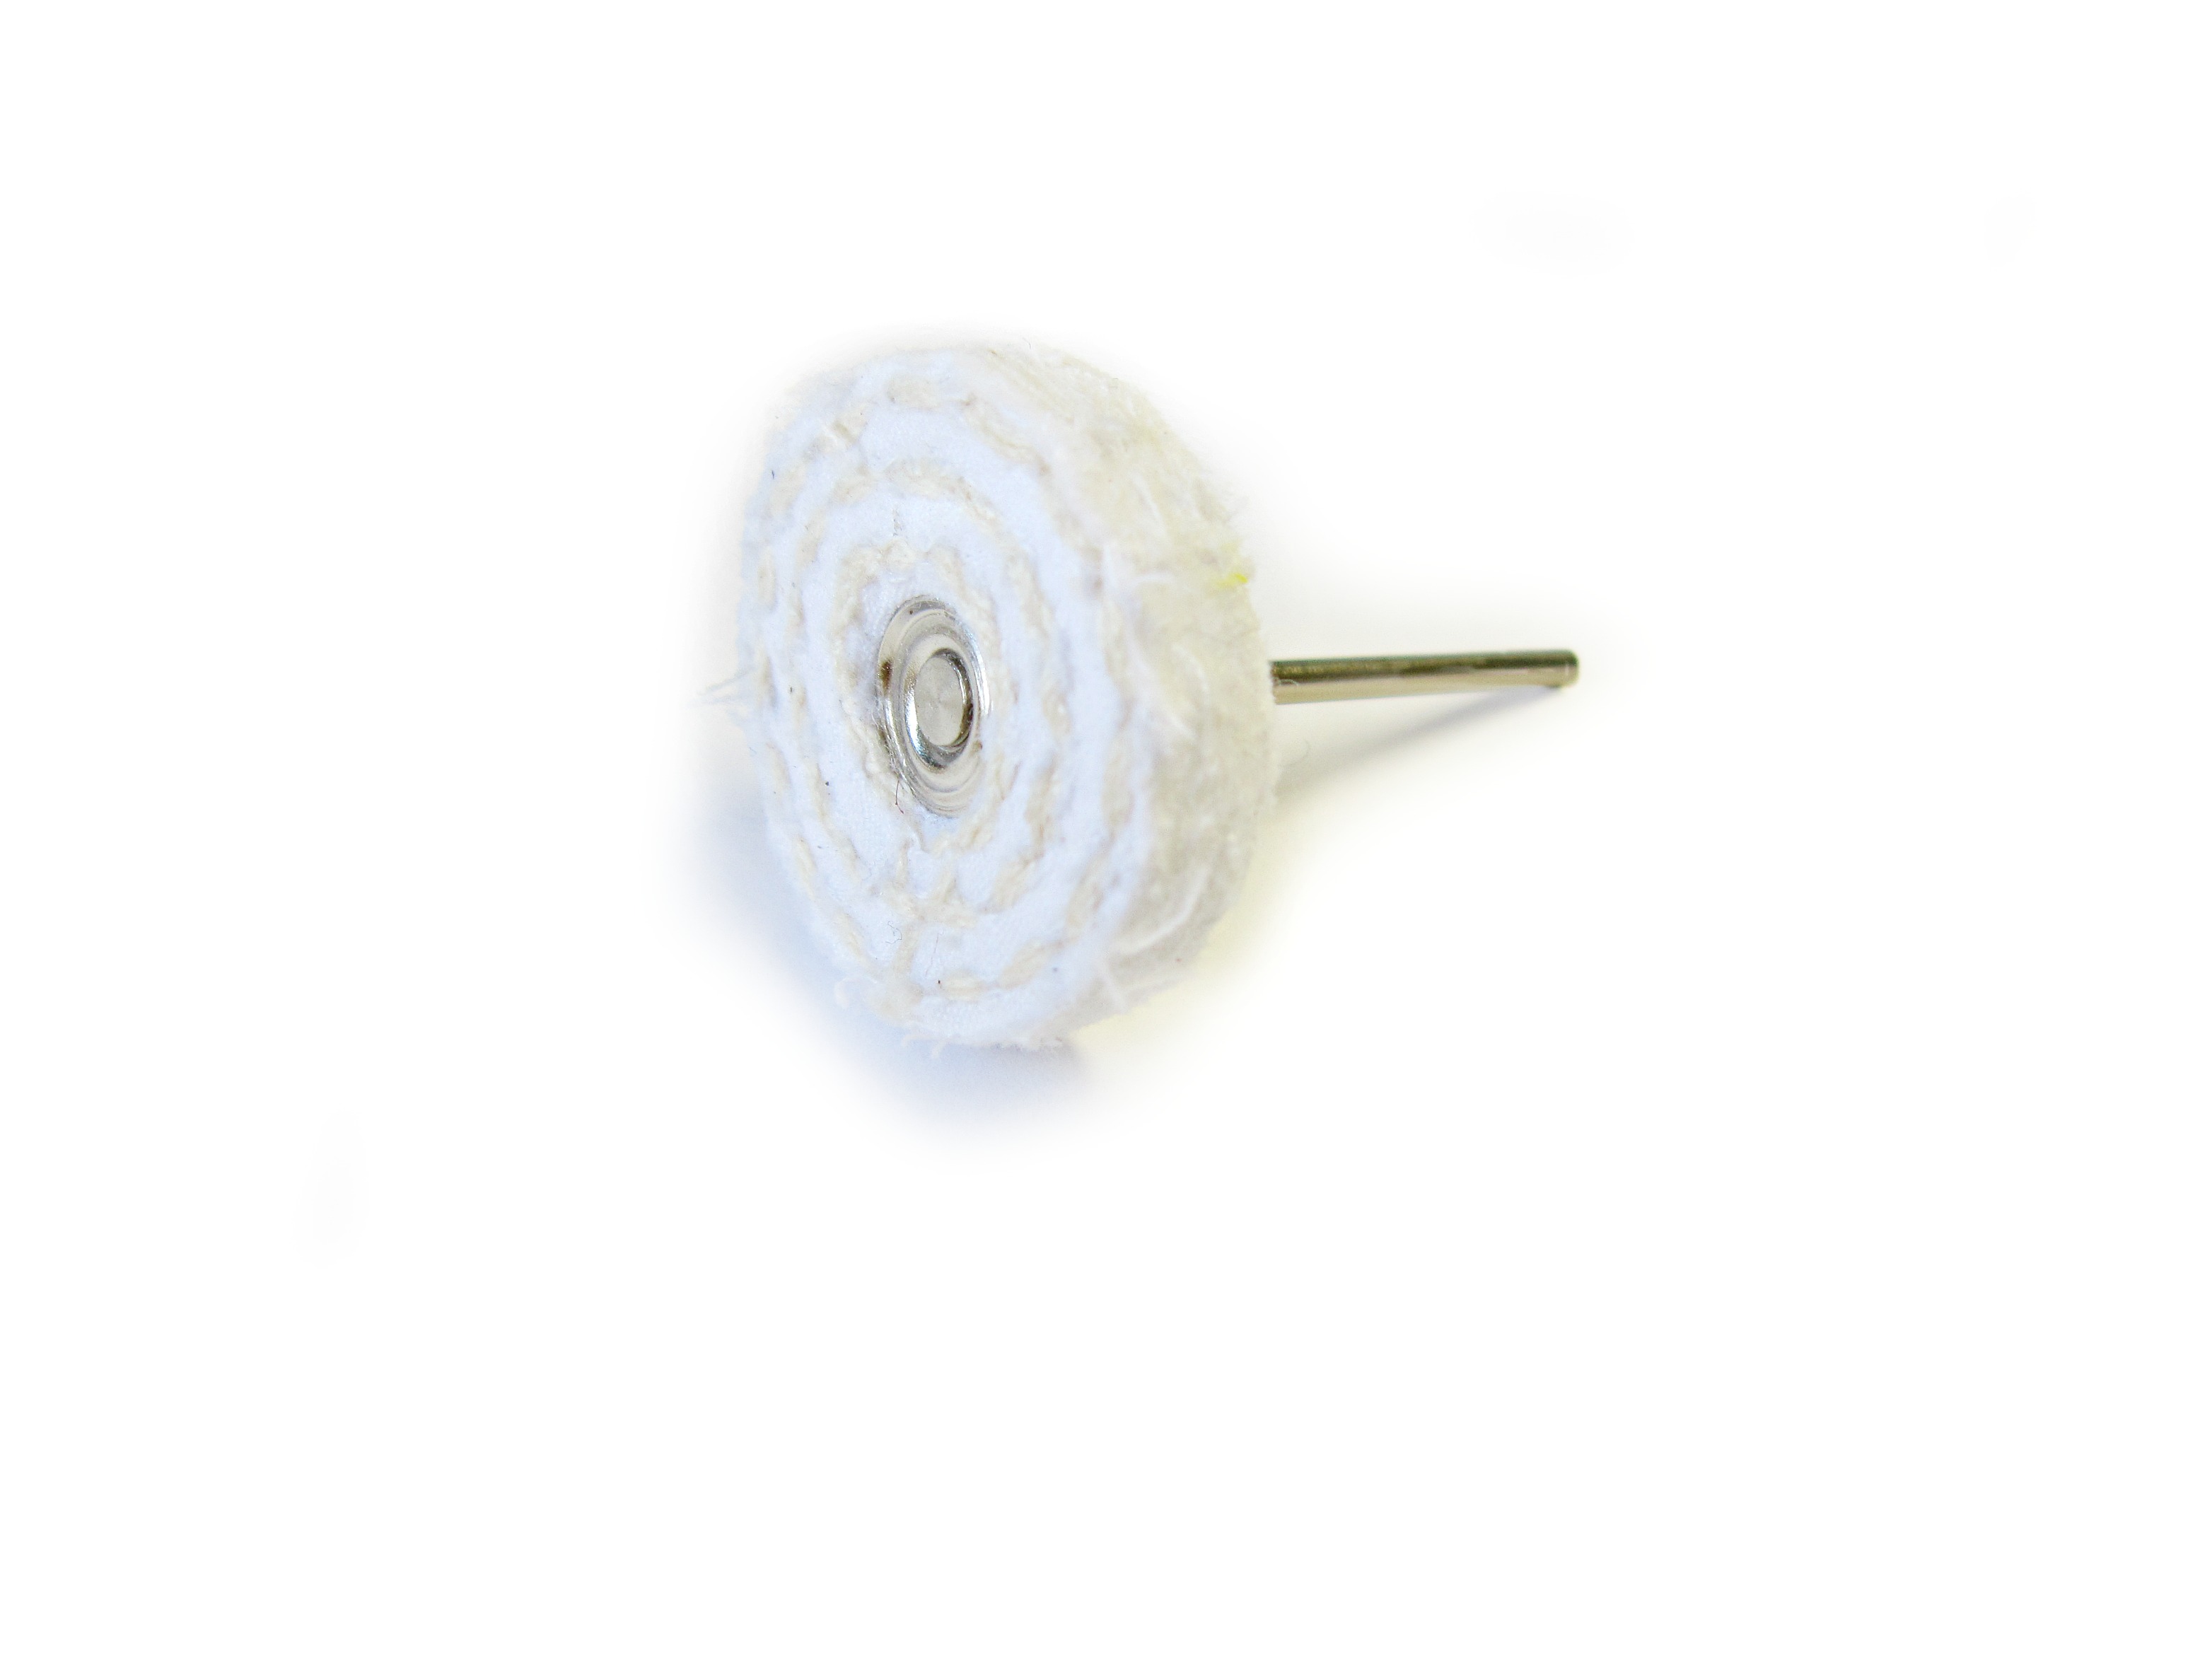
Mounted Mini Mops
Mounted Mini Mops are great especially for more conventional flat bands and rub over settings. Use for cutting and polishing.
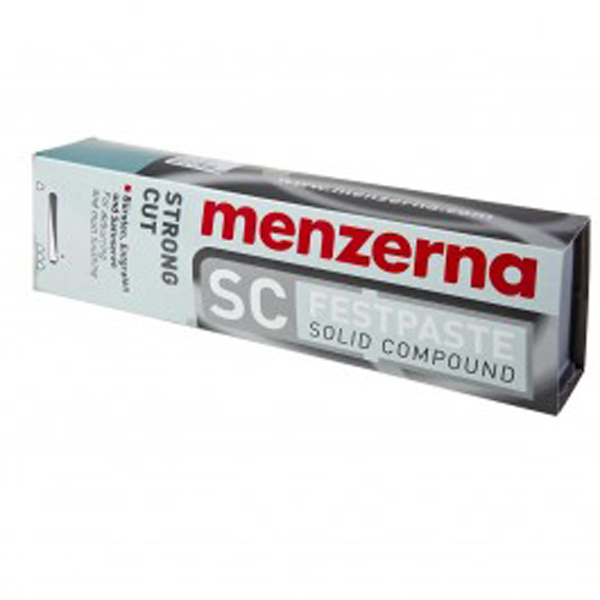
456g Cutting Compound
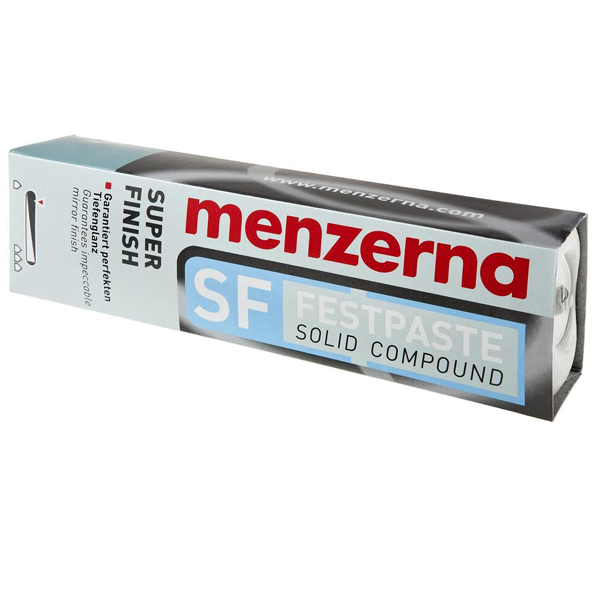
Menzerna 456g is an excellent cutting compound. It will smooth and prepare the metal for polishing and leaves a good shine itself. Use with a mini stitched mop.
Menzerna P175 Compound
This is an extremely good polishing compound for finishing all metals. It gives an extremely high finish particularly when used with the cotton yarn mops.
Step 6. Set the Stone
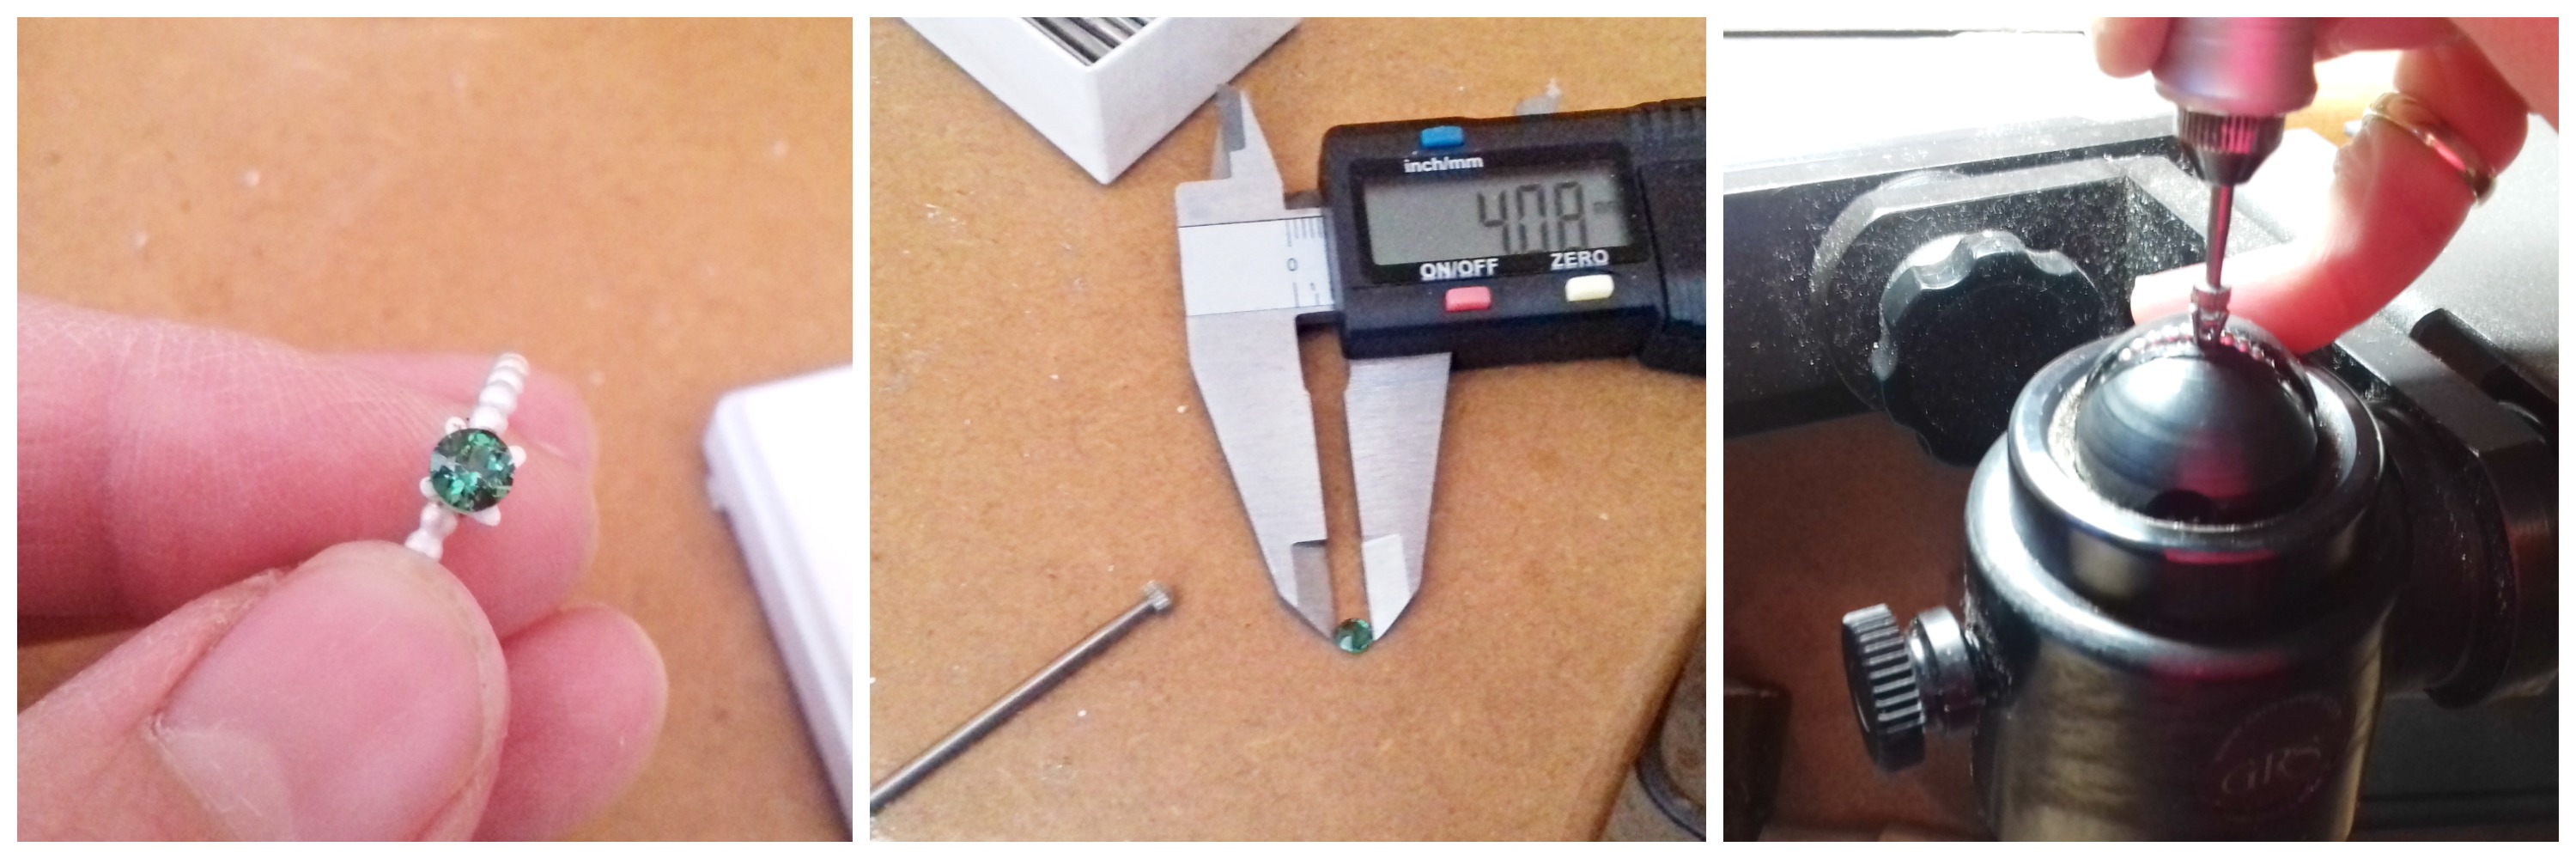
If you have chosen to set the stone yourself, you will need to measure the stone and match it to a burr slightly smaller than the stone or the same size.
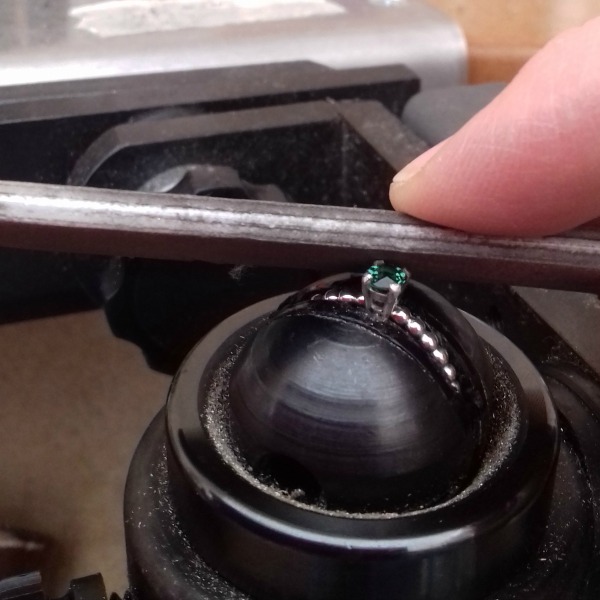
Cut the seat, keep checking the stone until it sits level. Then push over the claws, working alternate opposite claws a bit at a time. Once the stone is secure you will need to tidy up the claws, here we recommend a vallorbe needle file – ones with a non cutting side are best so they don’t scratch the stone. To finish you can use a Micromesh file again to buff.
Vallorbe Needle Files
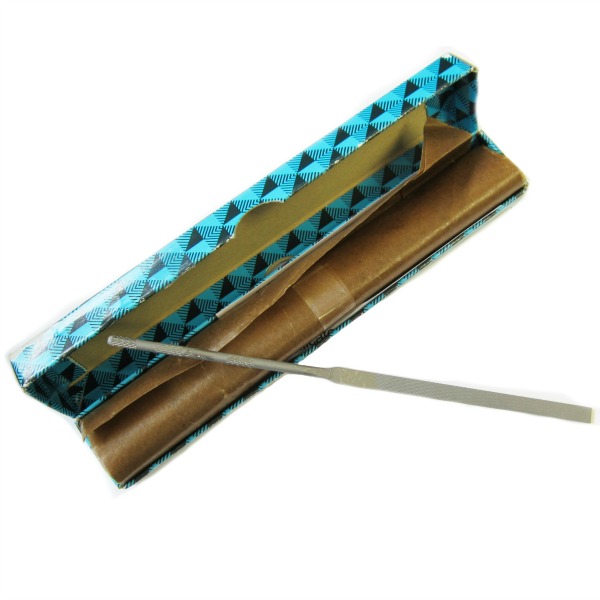
Vallorbe files are the best for accuracy, choose a file shape with a non cutting side such as Knife Edge for filing claws.
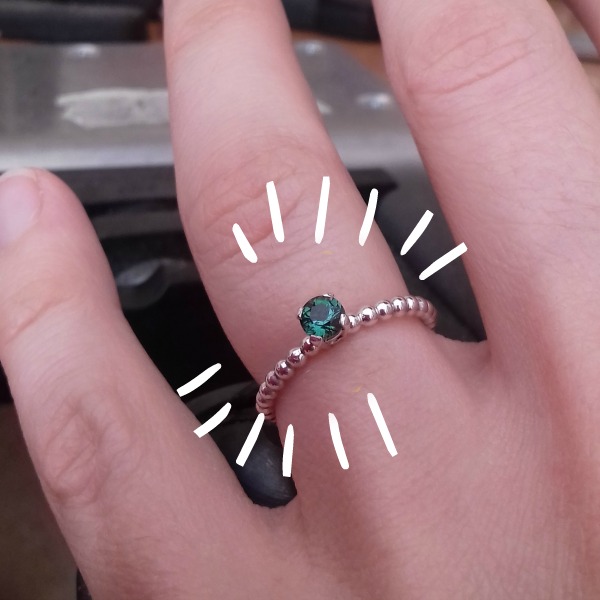
Et Voila! A Finished Ring Worthy of a Big Fat YES!
This is a silver and green Tourmaline ring made by Amyrwyatt Jewellery
So, what are you waiting for? You can go ahead and make your own engagement ring.
See our entire range of Tools & Equipment for Jewellery Making

