
Aluminium is a soft metal – and it scratches like mad. That softness can be frustrating, but it’s also exactly what makes aluminium quick and rewarding to polish, even at home or in a small jewellery workshop.
Whether you’re polishing a handmade aluminium pendant, jewellery component, or small decorative piece, the same rules apply: scratch removal and surface preparation dictate the final finish. Any ripples, flats, or scratches left behind will show up clearly once the metal is shiny.
This guide walks through a simple, achievable aluminium polishing process using accessible tools and consumables – ideal for jewellers, hobbyists, and DIY users rather than industrial professionals.
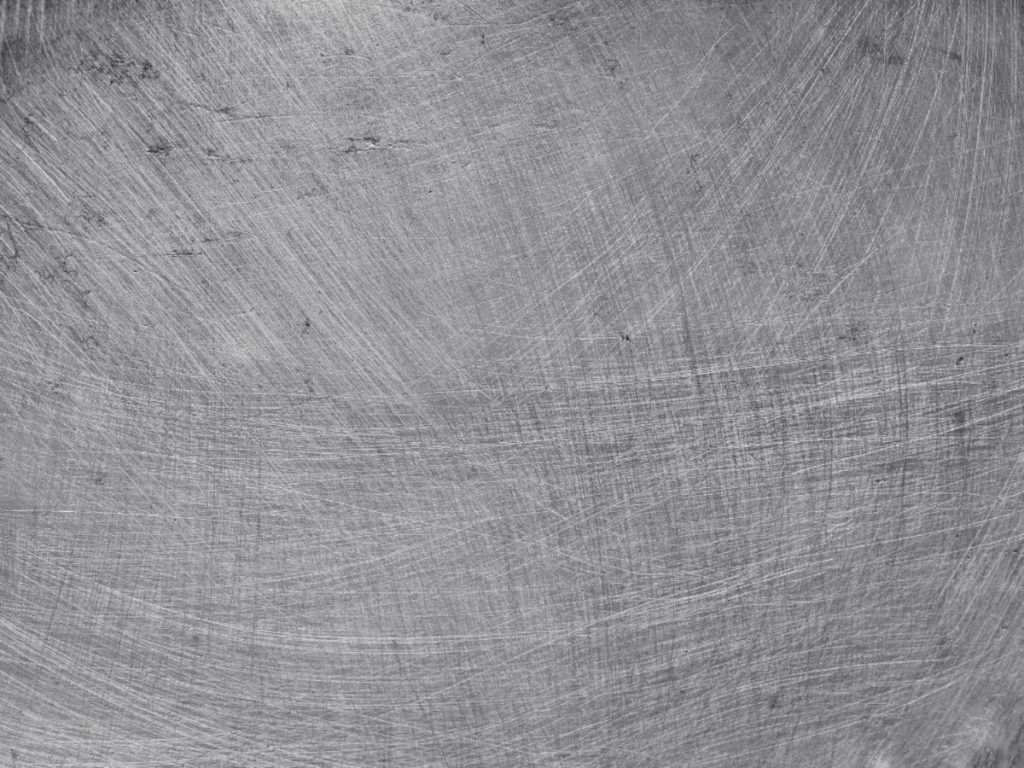
Before you even think about polishing compounds, the aluminium surface needs to be properly prepared.
The best abrasives to start with are:
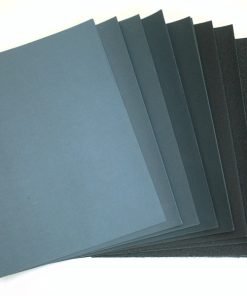

Abrasives
Abrasives

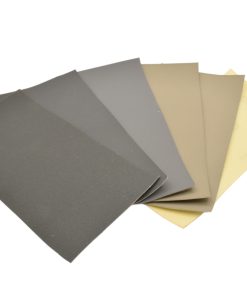


These work equally well whether you’re polishing something large (like an alloy wheel) or something small (like an aluminium jewellery pendant). Start at a grit that removes scratches efficiently, then work progressively finer until the surface is flat and even.
👉 Top tip for jewellery makers: Keep your pressure light and even. Aluminium removes quickly, and it’s easy to introduce low spots if you rush.
Once the surface is smooth, it’s time to move on to polishing. The mop you choose depends largely on the size of the item.
Polishing Larger Aluminium Items
For bigger pieces, such as decorative objects or larger components we recommend using loosefold calico mops with cutting & polishing compound:
- Start with a ‘G’ mop with Tripoli (brown) compound for initial cut
- Follow with a ‘WDR’ mop and Polishing compound to refine the finish
-
A white stitched mop can be used for the initial cut before the WDR stage to add extra cut and speed things up
-


Compound

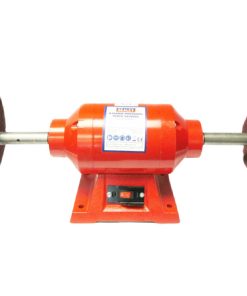
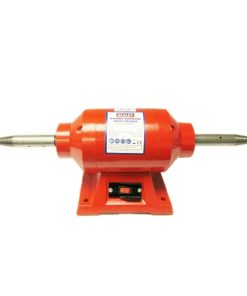
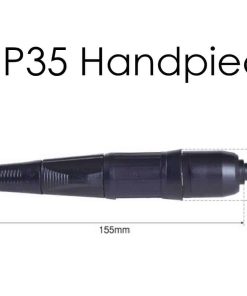
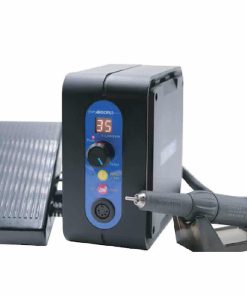
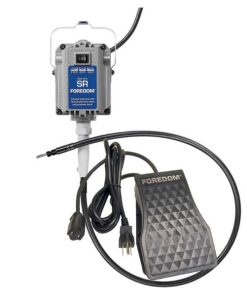
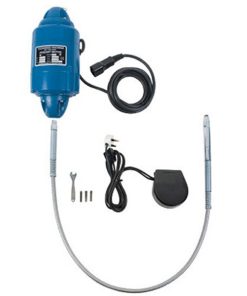
A drill or powerful bench polisher with appropriate pigtail/tapers are required to use these larger polishing mops
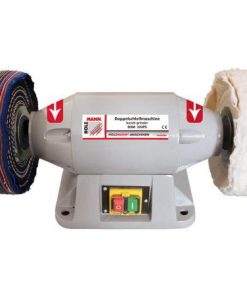
Bench Polishers
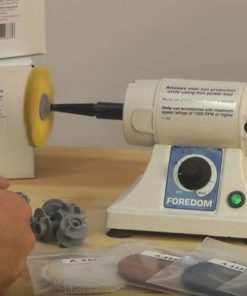
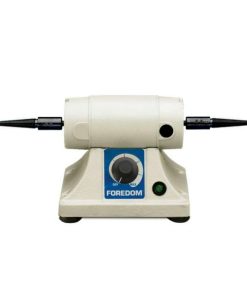
Bench Polishers
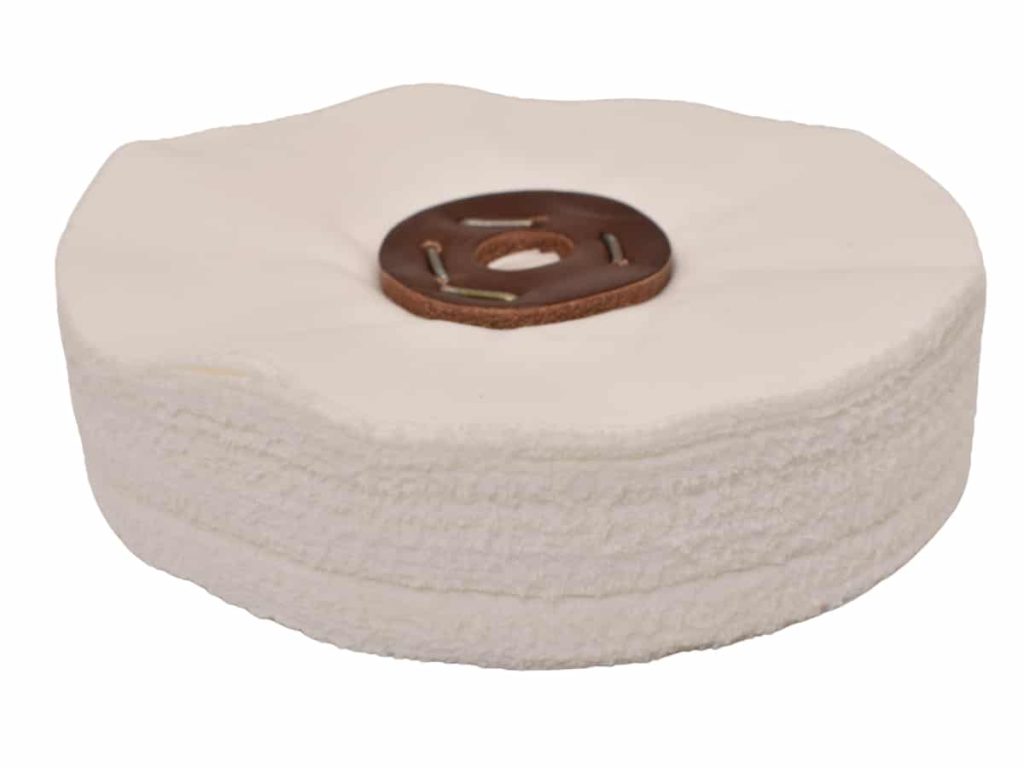
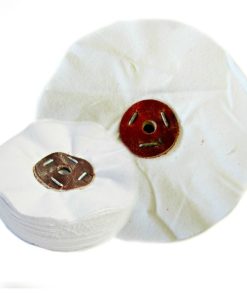
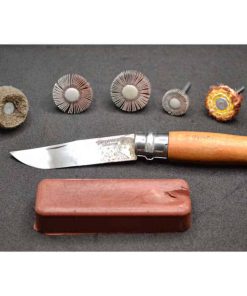
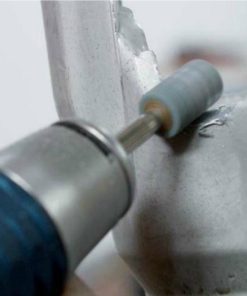
Polishing Small Aluminium Pieces
For jewellery, pendants, charms, or findings use smaller mounted stitched mops with appropriate compounds:
- Start with Yellow (firm) and Tripoli (brown) compound for cutting
- Then refine with Cream (soft) and polishing compound
- Finish with a mounted soft calico mop and polishing compound to bring up the shine


Compound


Mounted mops are ideal for use in a pendant motor, micromotor, or even a drill, making them perfect for home and hobby setups.


Catalogue
Catalogue
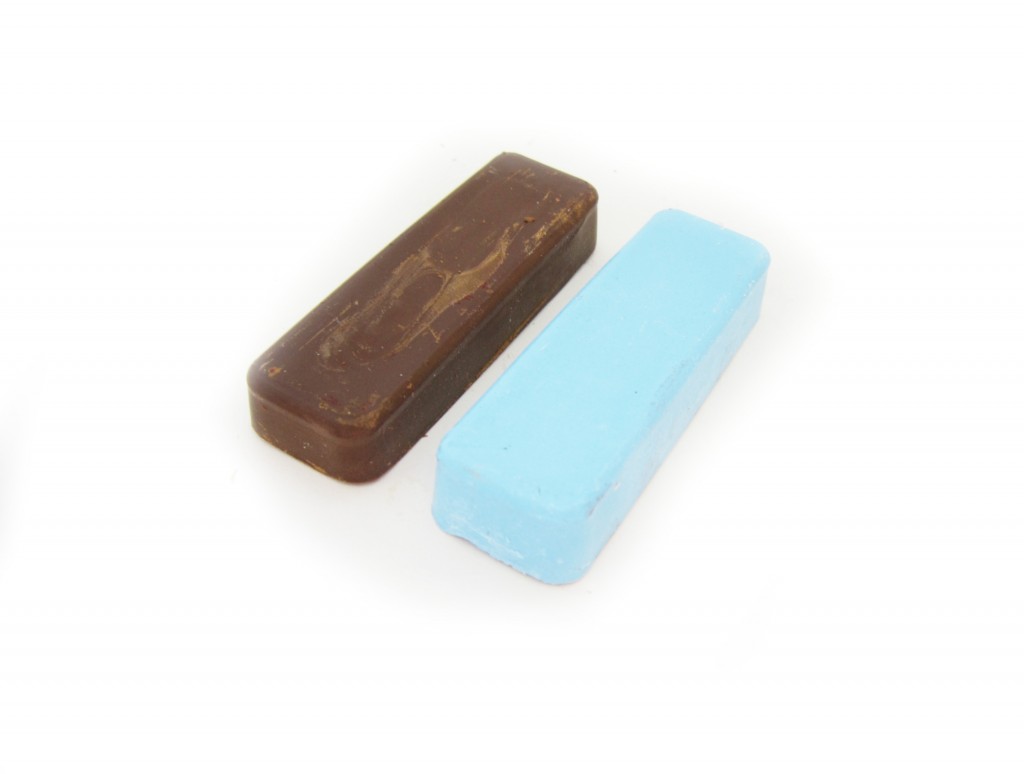
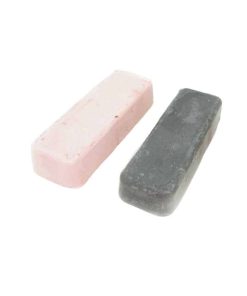
Aluminium responds best to a two-stage compound process:
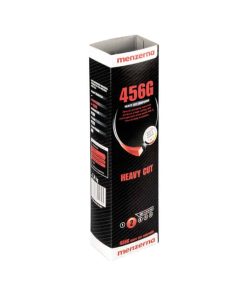
Stage 1 - Cutting Compound (Scratch Removal)
A cutting bar removes the remaining fine scratches left by abrasives. These compounds are typically brown in colour.
-
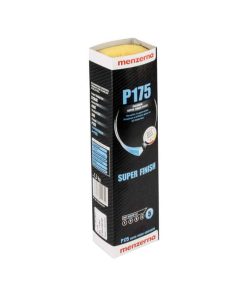
We offer a range of aluminium cutting compounds, including Apollo/Tripoli and Menzerna 456G as well as small alternatives
-
This stage refines the surface and prepares it for high shine
Compound
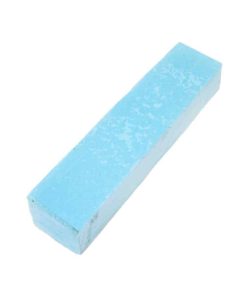
Stage 2 - Polishing Compound (High Shine)
Once cutting is complete, switch to a polishing bar to bring up the gloss. These are usually blue, green, or white.
Suitable options include:
-
2000D
-
Sunblue
-
309BX
-
FF9 (our ultimate finishing compound)
Use a separate mop for each compound to avoid contamination – especially important when polishing soft metals like aluminium.
Aluminium polishing creates a nasty black residue, and this is one of the most common frustrations for beginners.
Important rule:
Remove residue before it cools and hardens.
If left too long, it can go rock hard and become stubborn to remove.
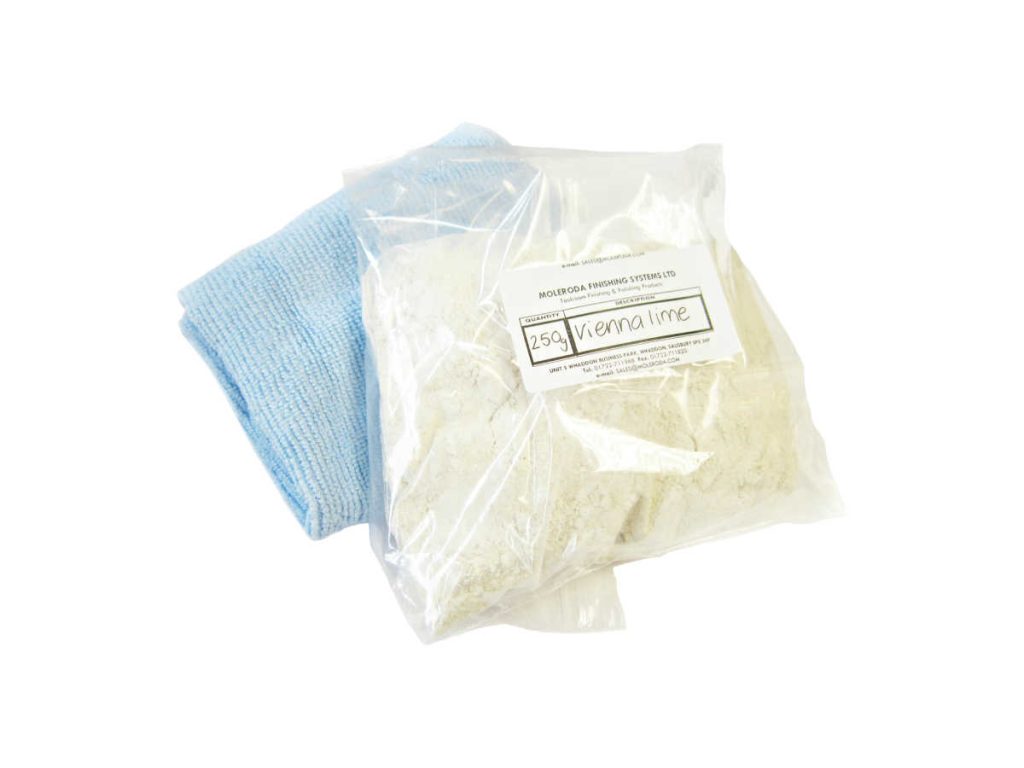
We recommend:
-
Apply it by dipping a lint-free cloth
-
Wipe the surface clean while the residue is still warm
This keeps your polished aluminium looking bright rather than smeared or dull.

Compound
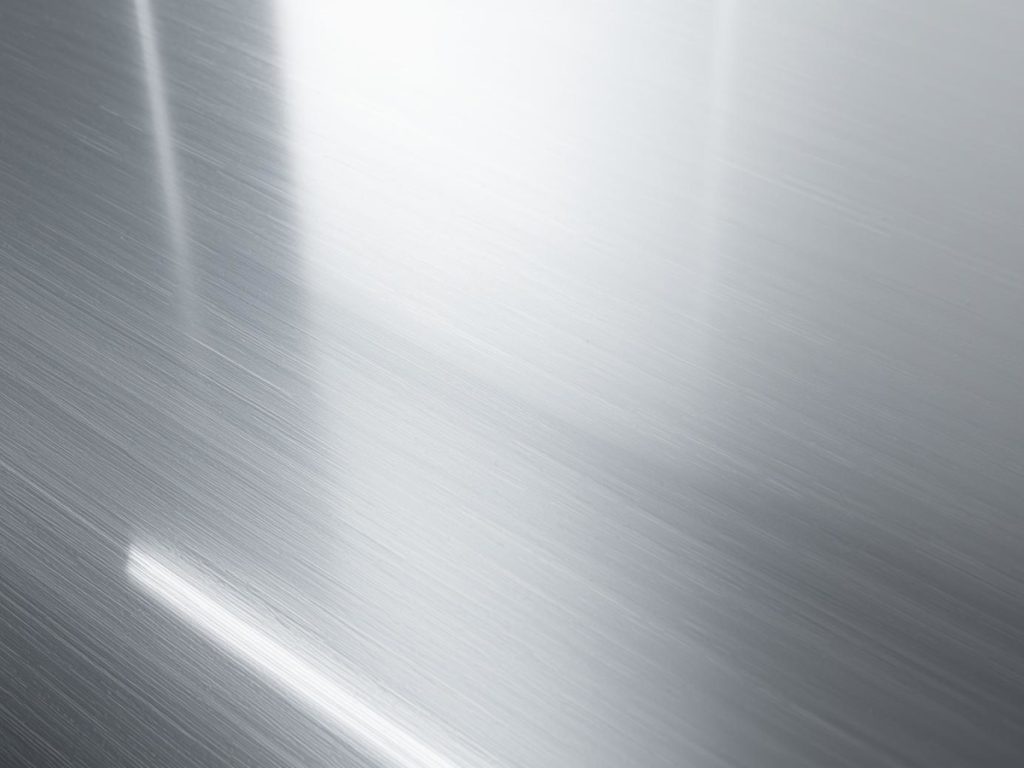
Ding! After all that, you should have a pretty nifty shine.
Polishing aluminium jewellery doesn’t require industrial machinery or specialist training – just the right abrasives, mops, and compounds, used in the correct order. With a bit of patience, aluminium can take on a clean, reflective finish that works beautifully in modern jewellery designs.