
Category Archives: Uncategorised

How Do I Set Up A Bench Polisher?
Our jewellery experts detail how to set up your bench grinder and convert it to [...]
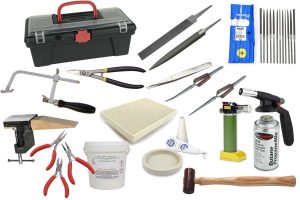
Finishing Touches for Jewellery
A guide to some of the most popular products for finishing jewellery
Jewellers, Join the Guild Of Jewellery Designers!!
There are Lots of Benefits to Being a GOJD Member There has been a lot [...]

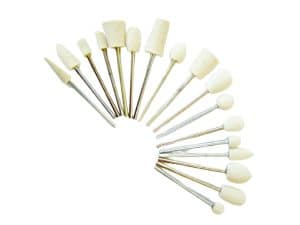
A Jeweller’s Guide to Choosing & Using Polishing Compound
What is Polishing Compound & Why do I Need it? Polishing compound is essential to [...]
1 Comment
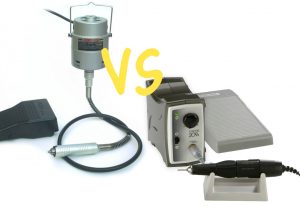
Pendant Motor vs Micromotor System
Which to Choose.. Pendant Motor vs Micromotor System? It’s a very common question, the choices [...]